How to Insert a Timer into Google Slides
Timers can make or break the flow of a presentation.
Whether you’re teaching, hosting a webinar, or delivering a pitch, knowing how to insert a timer into Google Slides can keep you on track, keep your audience engaged, and add a professional touch to your delivery.
I’ve tested several methods myself, and in this guide, I’ll walk you through exactly how to add timers to your Google Slides—without relying on complicated tools or wasting hours on hacks that don’t work.
This guide covers multiple methods, each with pros and cons, so you can choose what fits your presentation style best.
Why Timers Actually Matter in Presentations
Before jumping into the how-to, it’s worth quickly going over why a timer matters in the first place. A lot of people overlook this, thinking they can “just wing it” or check the clock manually.
That works fine—until it doesn’t.
Here’s why I always recommend using a timer in a slide deck:
- Keeps your presentation tight and on time
Whether you’re in a classroom or boardroom, running over can damage your credibility. A timer helps you stick to your time slot. - Helps guide the audience’s attention
If you’re running an activity or waiting on input, a visible timer keeps your audience focused. No one likes guessing how long something will take. - Improves pacing
You’ll naturally speed up or slow down when you know exactly how much time is left. That creates a better experience for everyone.
Timers are especially helpful in:
- Classroom settings where students have timed tasks
- Workshops and webinars with timed breakout sessions
- Sales pitches where every minute counts
- Internal meetings with strict time constraints
It’s a simple feature that adds structure and professionalism without much extra effort.
Method 1: Use a YouTube Countdown Timer
One of the easiest and most flexible ways to insert a timer into Google Slides is by using a YouTube countdown video.
You don’t need any coding skills or external software. All you need is a reliable video and a few clicks.
Here’s how I do it:
- Search YouTube
Type something like “5-minute countdown timer” or “10-minute countdown with sound.” There are tons of them available for free. - Copy the video URL
Choose a timer that fits your needs—some have music, others are silent. Copy the link to the video. - Insert into your slide
- Open your Google Slides deck
- Go to the slide where you want the timer
- Click Insert > Video
- Paste the YouTube link
- Click Select
- Adjust settings
- Right-click the video
- Choose Format options
- Under Video playback, set your start and end time
- Check “Autoplay when presenting”
Pros:
- No extra tools or software needed
- Easy to use
- Works across all devices
- Can be styled visually with themes that match your deck
Cons:
- Requires an internet connection
- Can be disrupted by YouTube ads if the video isn’t ad-free
- Autoplay can be inconsistent depending on the browser
Pro tip: Always test autoplay in Google Chrome. Other browsers, especially Safari, may block autoplay.
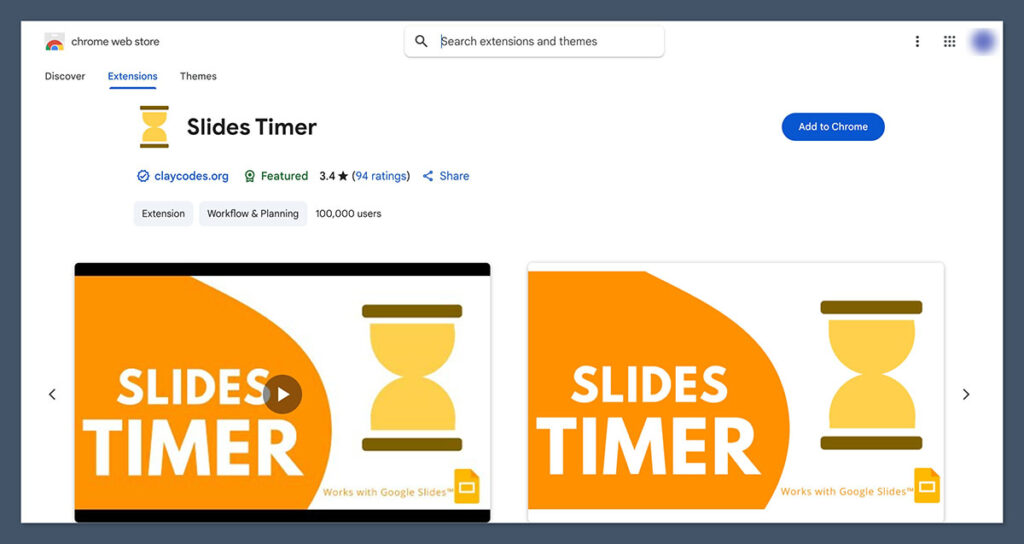
Method 2: Use a Google Slides Add-On
If you’re looking for a built-in solution with more control, add-ons are the way to go. These are third-party tools that plug directly into Google Slides.
One I use often is called Slides Timer. It’s free to install and easy to set up.
How to install a timer add-on:
- Go to the top menu in Google Slides
Click Extensions > Add-ons > Get add-ons - Search “Slides Timer” or “Countdown Timer”
Choose the one that fits your style. I recommend looking at the star ratings and reviews first. - Install the add-on
Follow the on-screen prompts. You might need to allow some permissions. - Open the timer panel
After installation, go back to Extensions > Slides Timer > Open Timer Panel - Insert a timer
Set the countdown length, font, color, and size. Then insert the timer into your slide.
Features typically include:
- Custom countdowns (e.g., 30 seconds, 5 minutes, etc.)
- Text-based digital timers (not video)
- Real-time updates while presenting
- Option to loop or stop after countdown ends
Pros:
- Works offline once installed
- Fully customizable look
- No third-party video dependency
- No autoplay issues
Cons:
- A little more setup than the YouTube method
- Some timers don’t support millisecond precision
- Might conflict with older add-ons
Here’s a quick comparison between YouTube and Add-On timers:
| Feature | YouTube Video Timer | Google Slides Add-On |
|---|---|---|
| Setup Time | 1-2 minutes | 3-5 minutes |
| Customization | Low | High |
| Offline Use | No | Yes |
| Visual Style | Video-based | Text-based |
| Autoplay Reliable? | Sometimes | Always |
If you’re doing something interactive or want a clean design, the add-on is worth the extra setup.
Method 3: Embed a Web-Based Timer
This method is for those who want something truly custom. It’s not as easy as the first two methods, but it offers full flexibility in terms of appearance and function.
You’ll be using a third-party timer website and embedding it through a workaround using Google Sites.
Step-by-step:
- Use a site like:
- TickCounter.com
- TimeAndDate Countdown
- Set up your countdown
- Choose the duration, design, size, font, and colors
- Preview it before finishing
- Get the embed code
- Copy the HTML iframe code they give you
- Create a new Google Site
- Paste the embed code into an HTML block
- Publish the Google Site
- Go back to Google Slides
- Insert a shape or image
- Link it to the Google Site you just published
- When clicked during your presentation, it opens the live countdown
Pros:
- Maximum customization
- Can match your branding exactly
- Some allow real-time syncing across screens
Cons:
- Not embedded directly into Google Slides
- Takes longer to set up
- Needs internet access to run
- More moving parts = more that can go wrong
If you’re creating a high-stakes presentation with very specific design needs, this method might be worth it.
Method 4: Use Slide Transitions as a Timer
This one’s more of a workaround, but it’s worth knowing. You can set automatic slide transitions to simulate a timer.
Let’s say you want to show a slide for 60 seconds—here’s how to do it:
Steps:
- Go to the slide
- Click Slide > Transition
- Under “Advance slide,” check “After” and set your time (in seconds)
- Click Apply to this slide or Apply to all
You can even create a series of slides with numbers counting down (like a 3-2-1 sequence), each set to display for 1 second. It’s a manual hack but can be effective in a pinch.
Pros:
- Doesn’t rely on any third-party tool
- Works offline
- Fully embedded in Google Slides
Cons:
- Not a true countdown
- No visual timer display
- Only good for fixed-duration autoplay decks
I only use this method when I need something super lightweight and don’t care about showing an actual timer.
Which Timer Method Is Best for You?
It depends on your use case, but here’s a quick breakdown:
| Use Case | Best Method |
|---|---|
| Teaching / Classroom | Google Slides Add-On |
| Webinar Hosting | YouTube Timer |
| Corporate Presentations | Web-Based Embed |
| Autoplay Decks | Slide Transition Hack |
| No Internet Access | Add-On or Transition Hack |
Ask yourself:
- Do I need it to work offline?
- Do I want a visible countdown?
- How much time do I have to set this up?
- Will I be using the timer regularly?
If you’re new to this, start with the YouTube method. If you’re more advanced or want more control, the add-on is the better choice.
Final Thoughts
Timers are simple, but they can completely change the feel of your presentation. They keep you accountable, engage your audience, and make everything run smoother.
If you’re presenting in a professional or educational setting, adding a timer shows that you’re serious about staying on track and respecting your audience’s time.
Take 10 minutes to set it up properly and test it before you go live. It’s a small step that makes a big difference.